
The post editor
Write a post
1
Click New post
Type the title and click Create post. The post opens in the editor as a draft.
2
Write the post
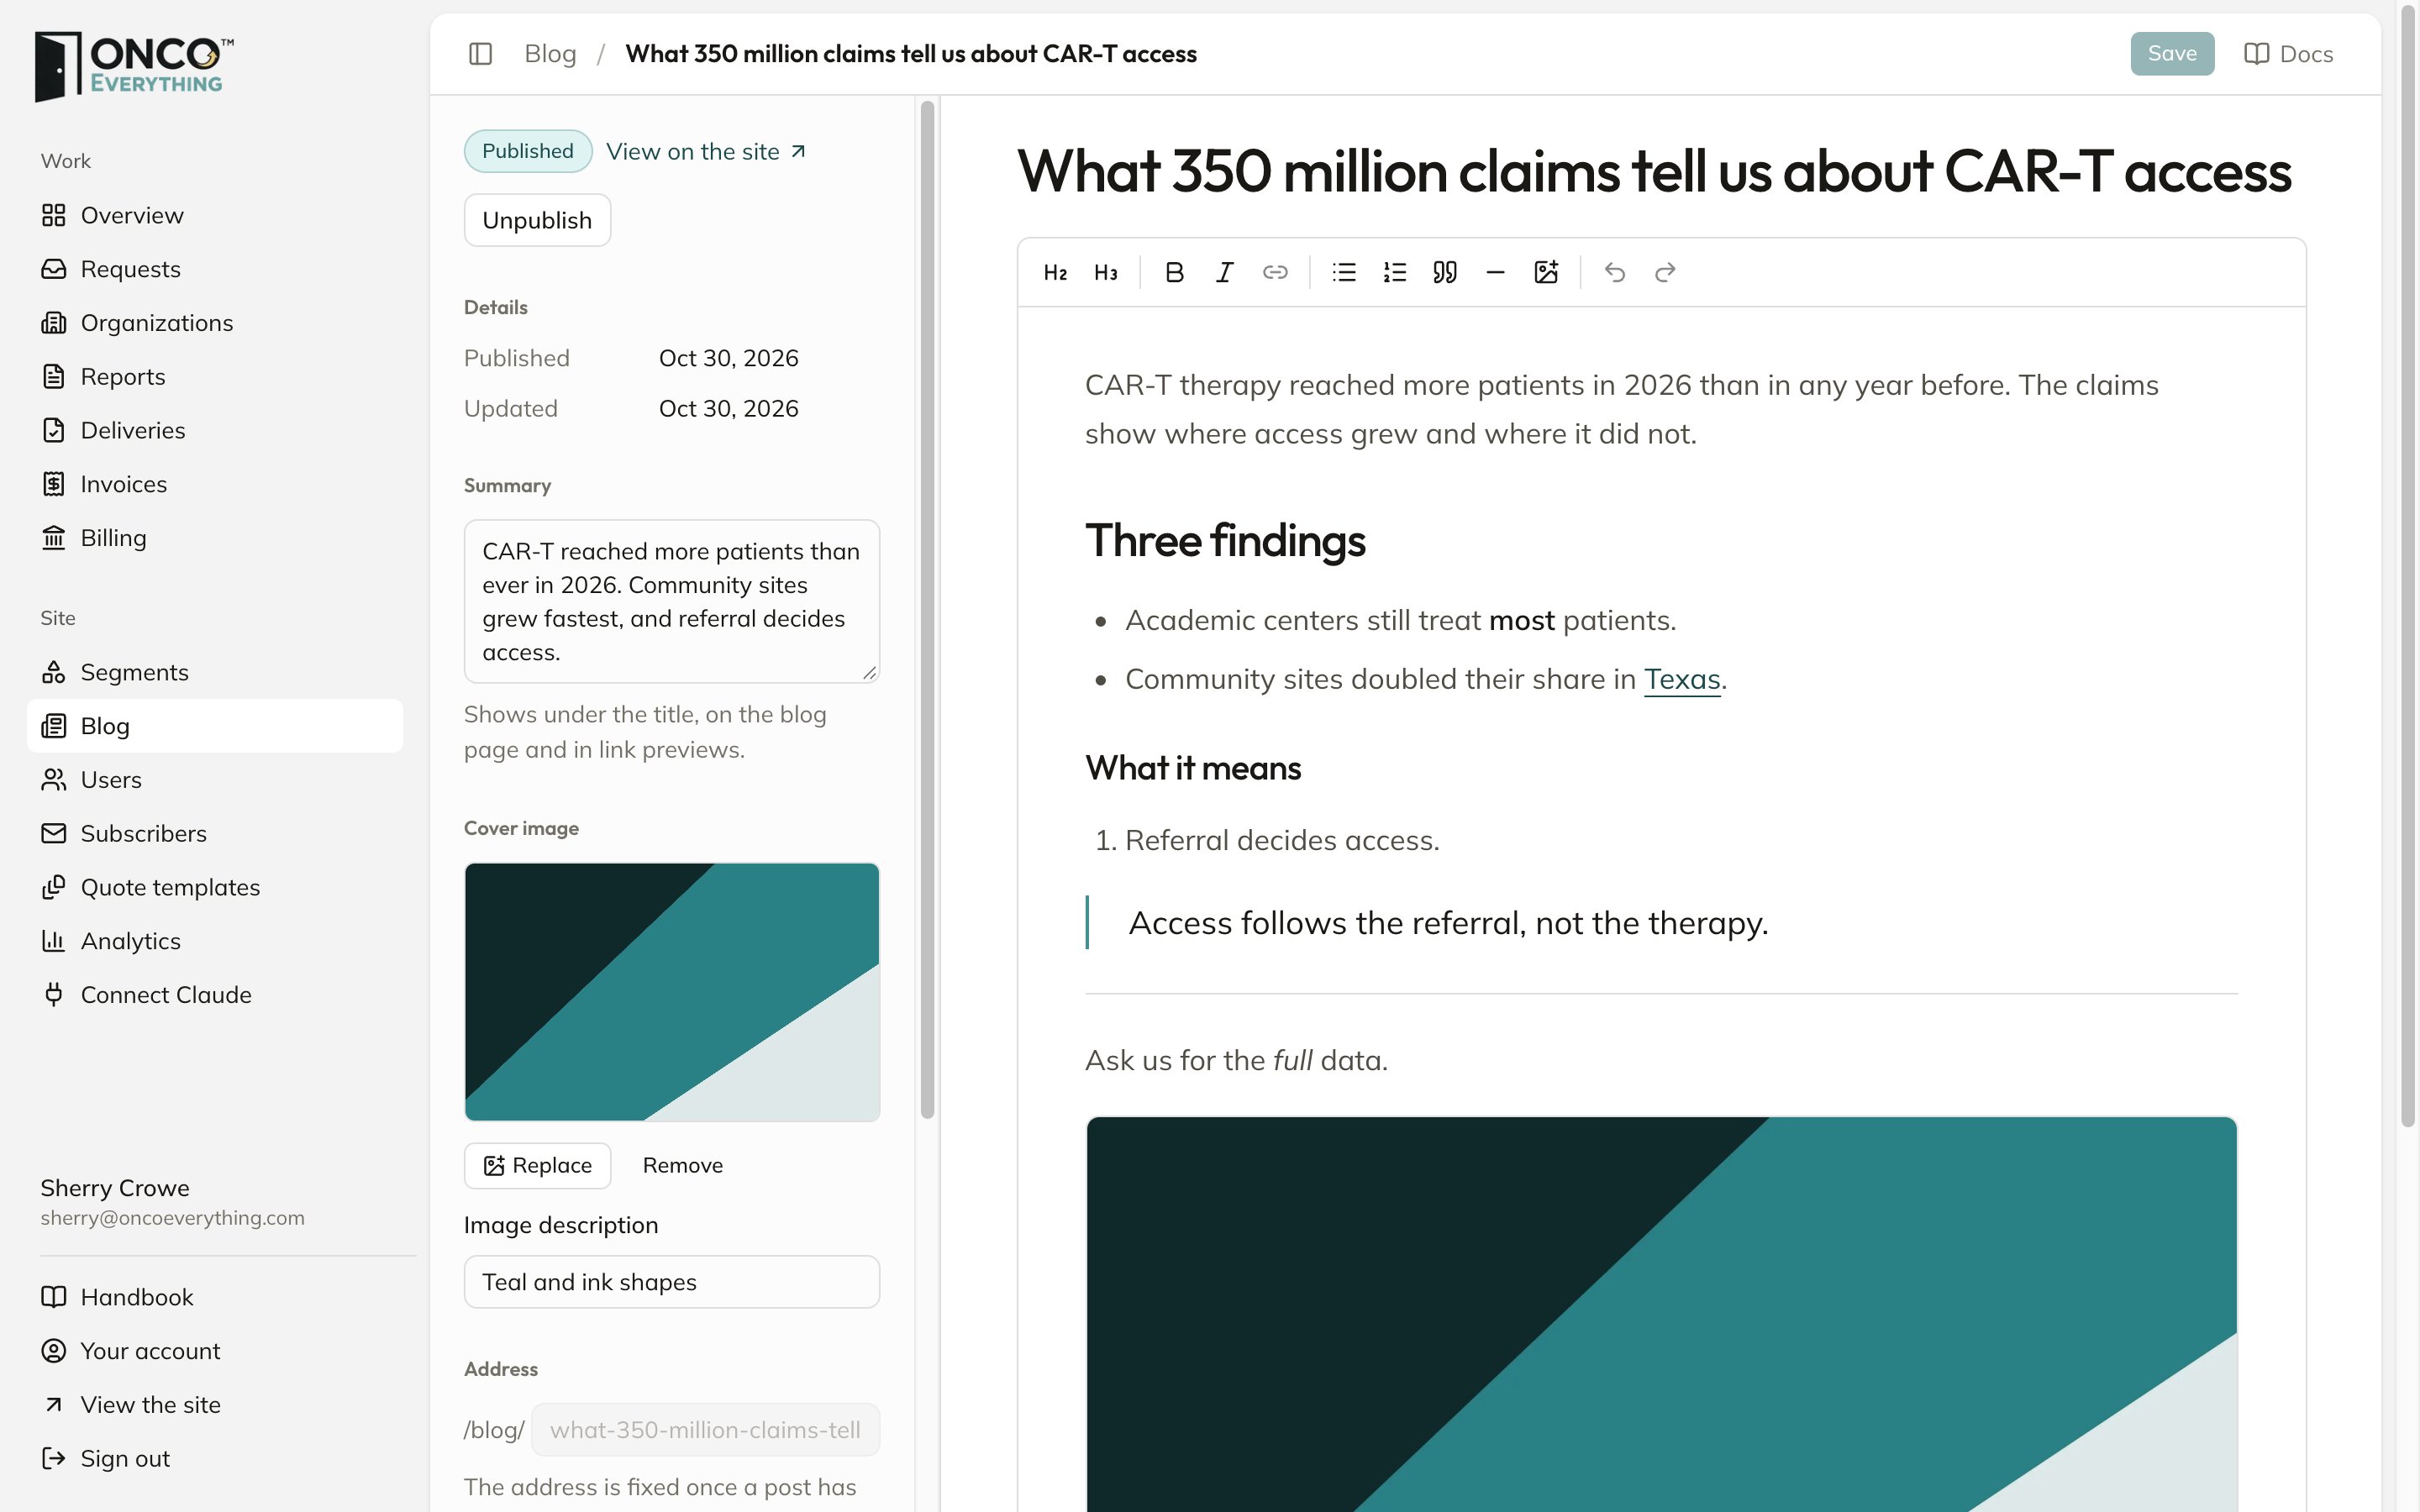
Type in the large box under the title. Use the formatting bar for headings, lists, quotes, links and images.
3
Add a summary
Type one or two sentences in Summary. The summary shows under the title, on the blog page and in link previews.
4
Click Save
You can also press ⌘S on a Mac or Ctrl+S on Windows. The masthead shows Changes not saved until you save.
Draft a post with Claude
If you connected Claude to the admin, Claude can write a post for you as a draft. See Use Claude with the admin.1
Ask Claude for a draft
For example: “Draft a blog post about CAR-T access in community sites. Save it as a draft.”
2
Open the draft
Claude gives you a link to the draft in the admin. The draft also shows in Blog under Drafts.
3
Edit and publish
Read the post, add images and a cover image, and click Publish.
The formatting bar
Images
You can upload JPEG, PNG, WebP and GIF images up to 15 MB. To add an image, use one of these:- Click Add an image.
- Paste the image into the post.
- Drag the image into the post.
Cover image
A cover image shows at the top of the post and on the blog page. Click Add a cover image in the settings at the left. Then type what the image shows in Image description. A post with a cover image cannot publish without this description. A post without a cover image shows a teal pattern on the blog page.Publish
Click Publish. The post shows on the site at the next page load, with today’s date. Publish is not available until all of these are true:- The post has a title.
- The post has a summary.
- The post has words in it.
- The cover image, if there is one, has a description.
- All changes are saved.
Change a published post
Make the changes and click Save. The site shows the changes at the next page load. The post keeps its date. The address of a post is fixed when the post is first published. Before then, you can change it in Address.Unpublish or delete
Unpublish removes the post from the site and makes it a draft again. When you publish it again, it keeps its first date and its address. Delete removes a draft for all time. Only a post that was never published can be deleted.Search settings
Search title and Search description change what search engines and link previews show. Keep the title to 70 characters and the description to 160. When they are empty, the site uses the title and the summary.On the site
- The blog is at oncoeverything.com/blog, with 12 posts on each page, newest first.
- Each post shows its author, date and reading time. A post by Sherry Crowe shows Sherry Crowe, Founder & CEO and links to the About page.
- Feed readers can follow oncoeverything.com/blog/rss.xml.
- The author of a post is the person who created it.